Step 1: attach the end fittings
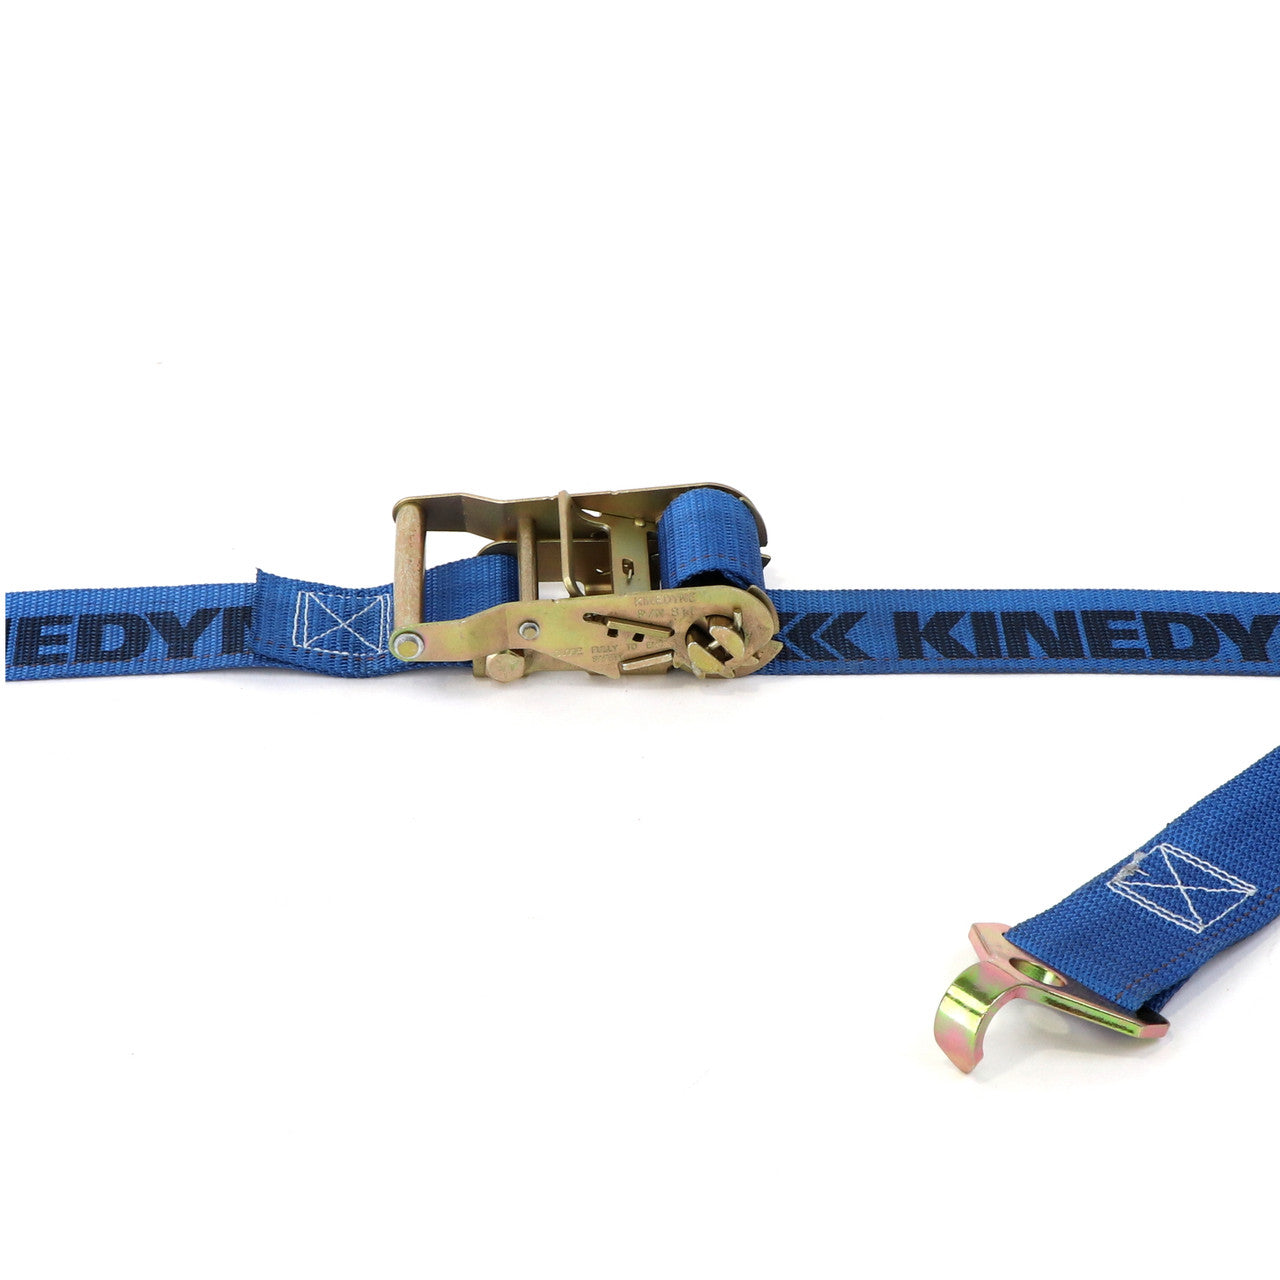
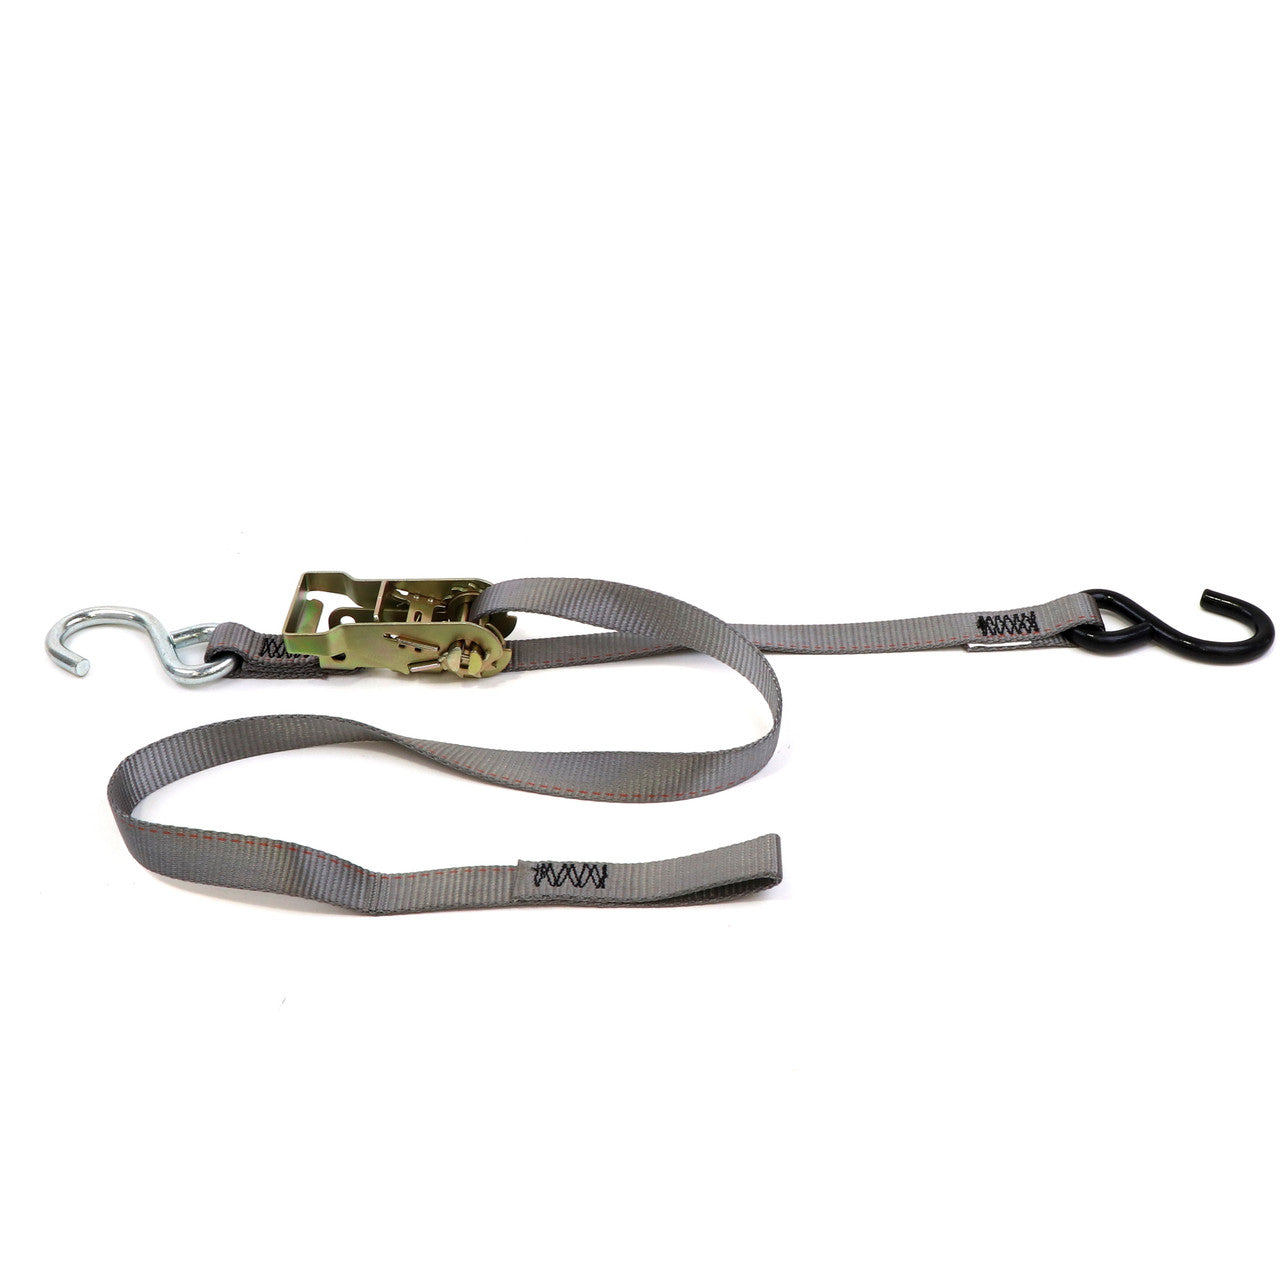
Start by hooking both ends of the strap to secure, rated anchor points, one to a fixed point on the vehicle, the other over or around the cargo to another anchor. The anchor points must themselves be rated for the load, since the strap is only as strong as what it connects to. Route the strap over the load in a way that holds it down and against movement, and position the ratchet where you can work it comfortably. With a ratchet strap properly hooked at both ends, you're ready to remove the slack and tension it.
Step 2: thread the webbing through the ratchet
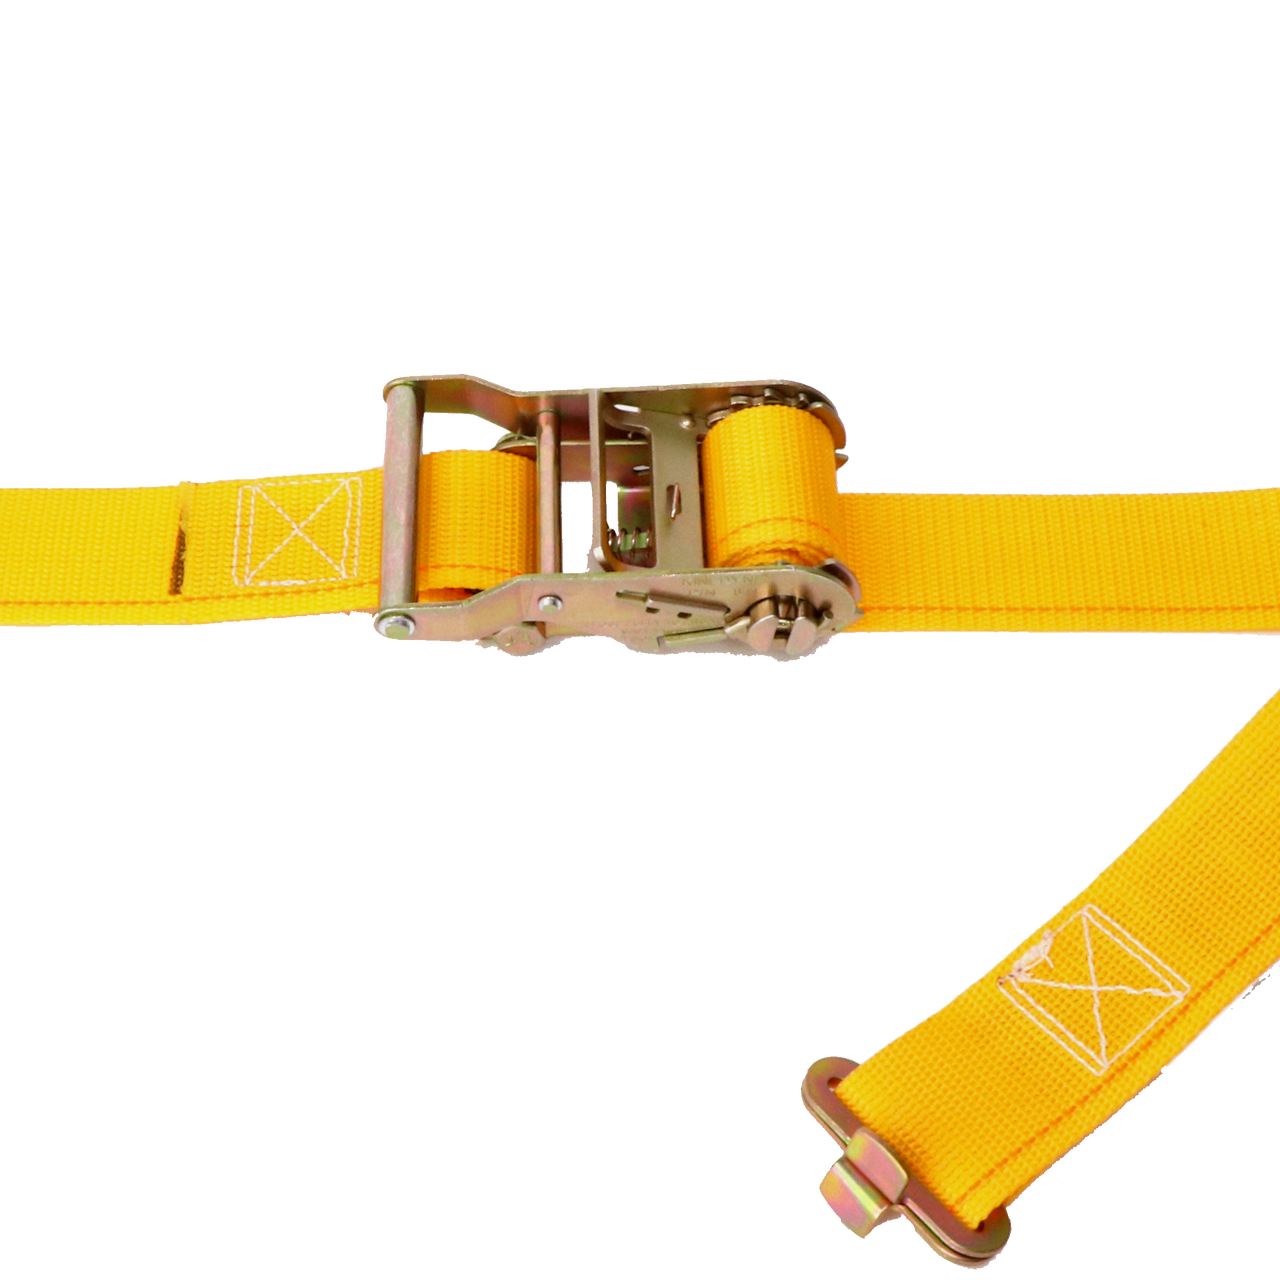
With the ratchet in the open position, feed the loose (adjustable) end of the webbing up through the slot in the center spool, the mandrel, from the bottom. Pull the webbing through until you've taken out all the slack and the strap is taut by hand, before you start ratcheting. Threading from the correct direction and removing the hand slack first makes tensioning smooth and ensures the webbing feeds and grips properly. If the webbing is twisted, straighten it now, a flat, untwisted strap holds better and wears less than a twisted one.
Step 3: ratchet up the tension
Now pump the ratchet handle, opening and closing it, to crank the strap tight. Each stroke winds a little more webbing onto the mandrel and increases the tension. Tighten until the strap is snug and secure, a good test is that you can't easily press the tensioned strap down with your thumb. The geared ratchet gives you the mechanical advantage to reach firm, reliable tension by hand, which is exactly why ratchet straps hold heavy loads so well. Work the handle steadily until the load is held firmly against the deck with no slack or movement.
Don't over-ratchet
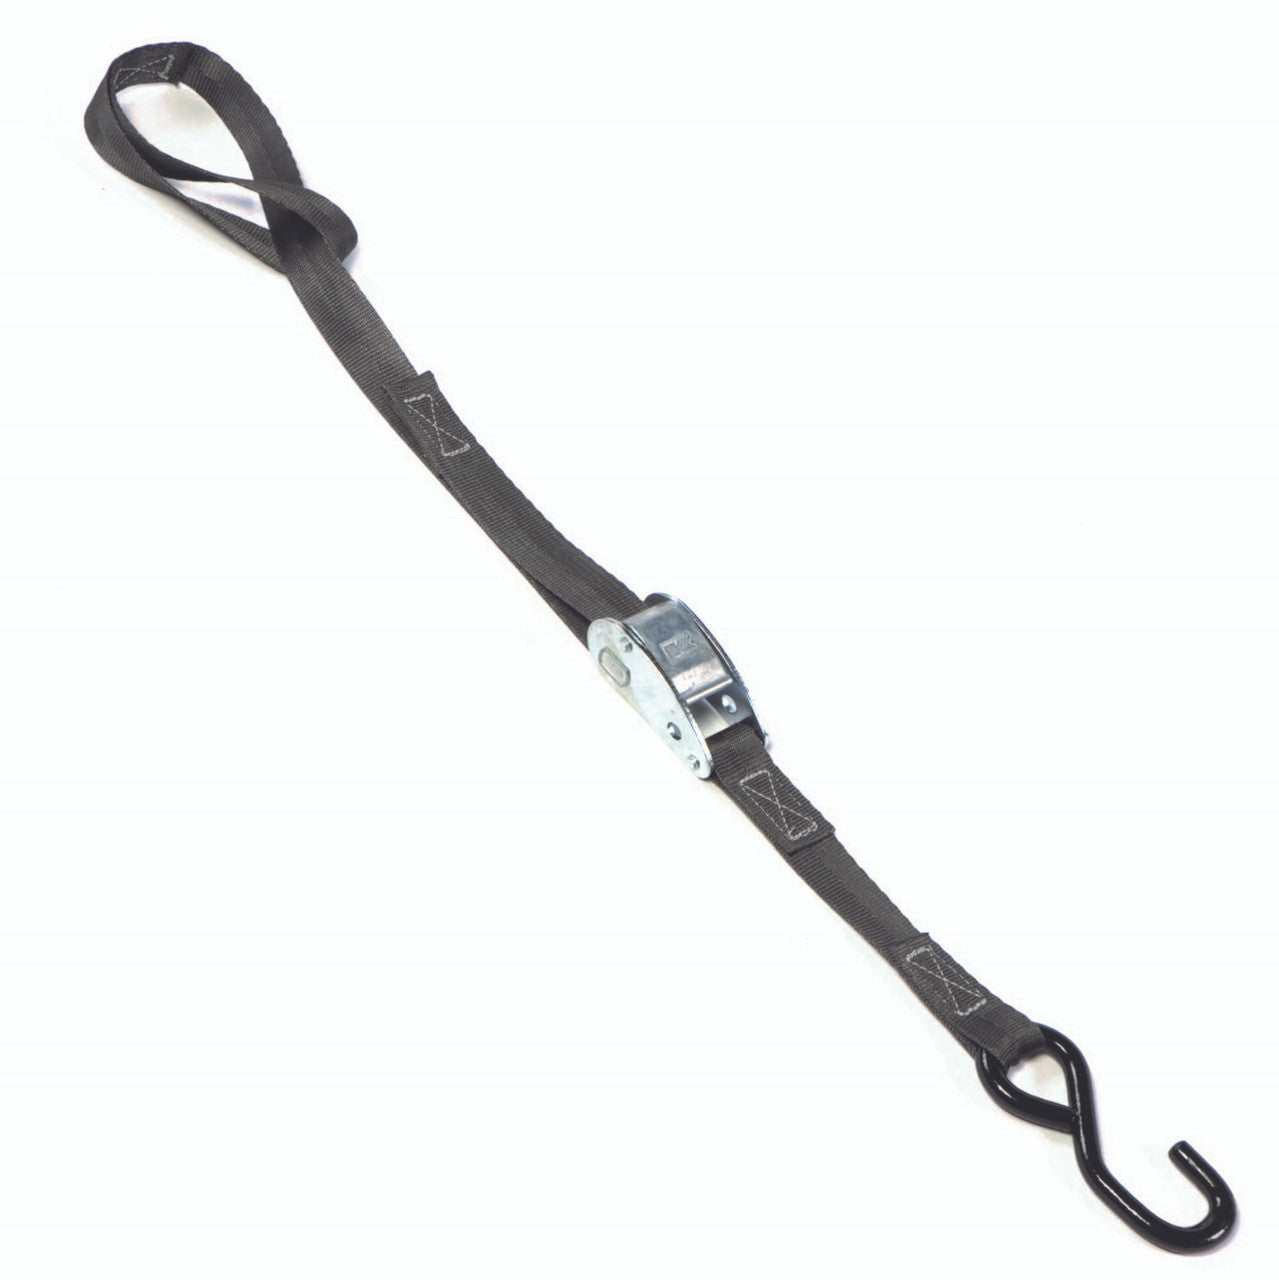
It's a common mistake to crank a ratchet strap as tight as physically possible, but you shouldn't. Over-ratcheting can crush or damage the cargo, and it over-stresses the webbing, ratchet, and hooks, shortening their life. You generally do not need maximum force, you need enough firm tension to hold the load securely against shifting. Snug and secure, not bar-tight, is the goal. For fragile or crushable loads especially, restraint matters, and a cam-buckle strap (which can't over-tension) may be the better tool. Tension firmly, then stop; more force past secure does harm, not good.
Take enough wraps on the mandrel
For the strap to grip and hold, the webbing needs to wrap around the mandrel enough times, generally at least two to three wraps. Too few wraps and the webbing can slip; too many and the spool jams and becomes hard to release. As you ratchet, watch the buildup on the mandrel and aim for that two-to-three-wrap sweet spot, adjusting how much slack you pulled through in step 2 if needed. Getting the wrap count right ensures the strap holds its tension reliably and releases cleanly afterward. It's a small detail that makes the difference between a strap that grips and one that slips.
Protect sharp edges
Any sharp edge the strap crosses, a steel corner, a pallet edge, machinery, will concentrate stress and can cut the webbing under tension, causing a sudden failure. Always place corner or edge protectors wherever the strap passes over a sharp or hard edge. This is one of the most important and most overlooked steps: a strap can meet every rating requirement and still fail because it was cut on an unprotected corner. Edge protectors are cheap insurance against a cut strap and a lost load. Make protecting edges an automatic part of strapping any load with corners.
Lock, secure the tail, and re-check
Once tensioned, close the ratchet fully into its locked position so it can't release, and secure the loose tail of webbing (tie it off or use a keeper) so it doesn't flap in the wind, which is both a distraction and a wear point. Then, importantly, re-check the tension after the first several miles of driving: loads settle and shift early in a trip, and straps can loosen, so a quick re-tension stop early on prevents a load working loose. Building in that early re-check is a mark of careful securement and is required practice for commercial hauling.
Releasing the strap
To release, pull and hold the release catch (usually a tab on the handle) and open the ratchet fully, past its normal range, which disengages the gears and frees the mandrel so the webbing can be pulled out. Then unthread the webbing and unhook the ends. If a strap is under heavy tension, be aware it will release its stored energy, so keep control and don't let the handle snap. Releasing correctly protects the ratchet and your hands. Our ratchet strap vs cam buckle guide notes that cam straps release even more simply, another reason they suit lighter, frequent use.
The bottom line
To use a ratchet strap: hook both ends to rated anchors, thread the loose webbing up through the mandrel slot and pull out the slack, then ratchet to firm, secure tension, snug but not crushing, with two to three wraps on the mandrel. Protect every sharp edge, lock the ratchet, secure the tail, and re-check tension after a few miles. Don't over-ratchet, and always secure to the Working Load Limit and FMCSA rules. See our what are ratchet straps and cargo securement rules guides, and compare straps in best ratchet straps.