What a spreader bar does
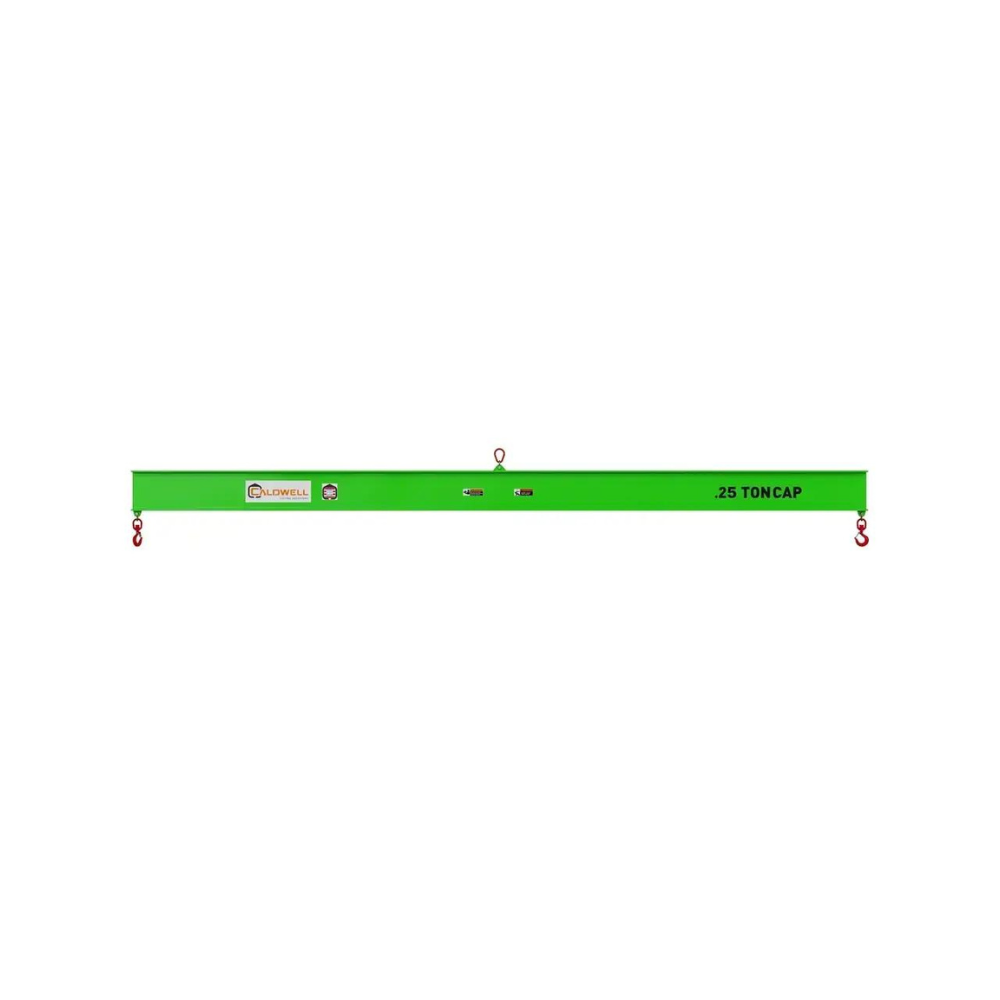
A spreader bar is a rigid bar with lifting points at each end, used below the crane hook to hold two or more slings apart during a lift. Its job is to keep the slings that attach to the load vertical rather than angled inward. When slings run at an angle, they pull inward on the load and multiply the tension in each leg, which can crush a wide load or overload the rigging. The spreader bar eliminates that by maintaining a fixed horizontal distance between the pick points. It's a compression member, it works by resisting being squeezed from both ends.
The basic rigging setup
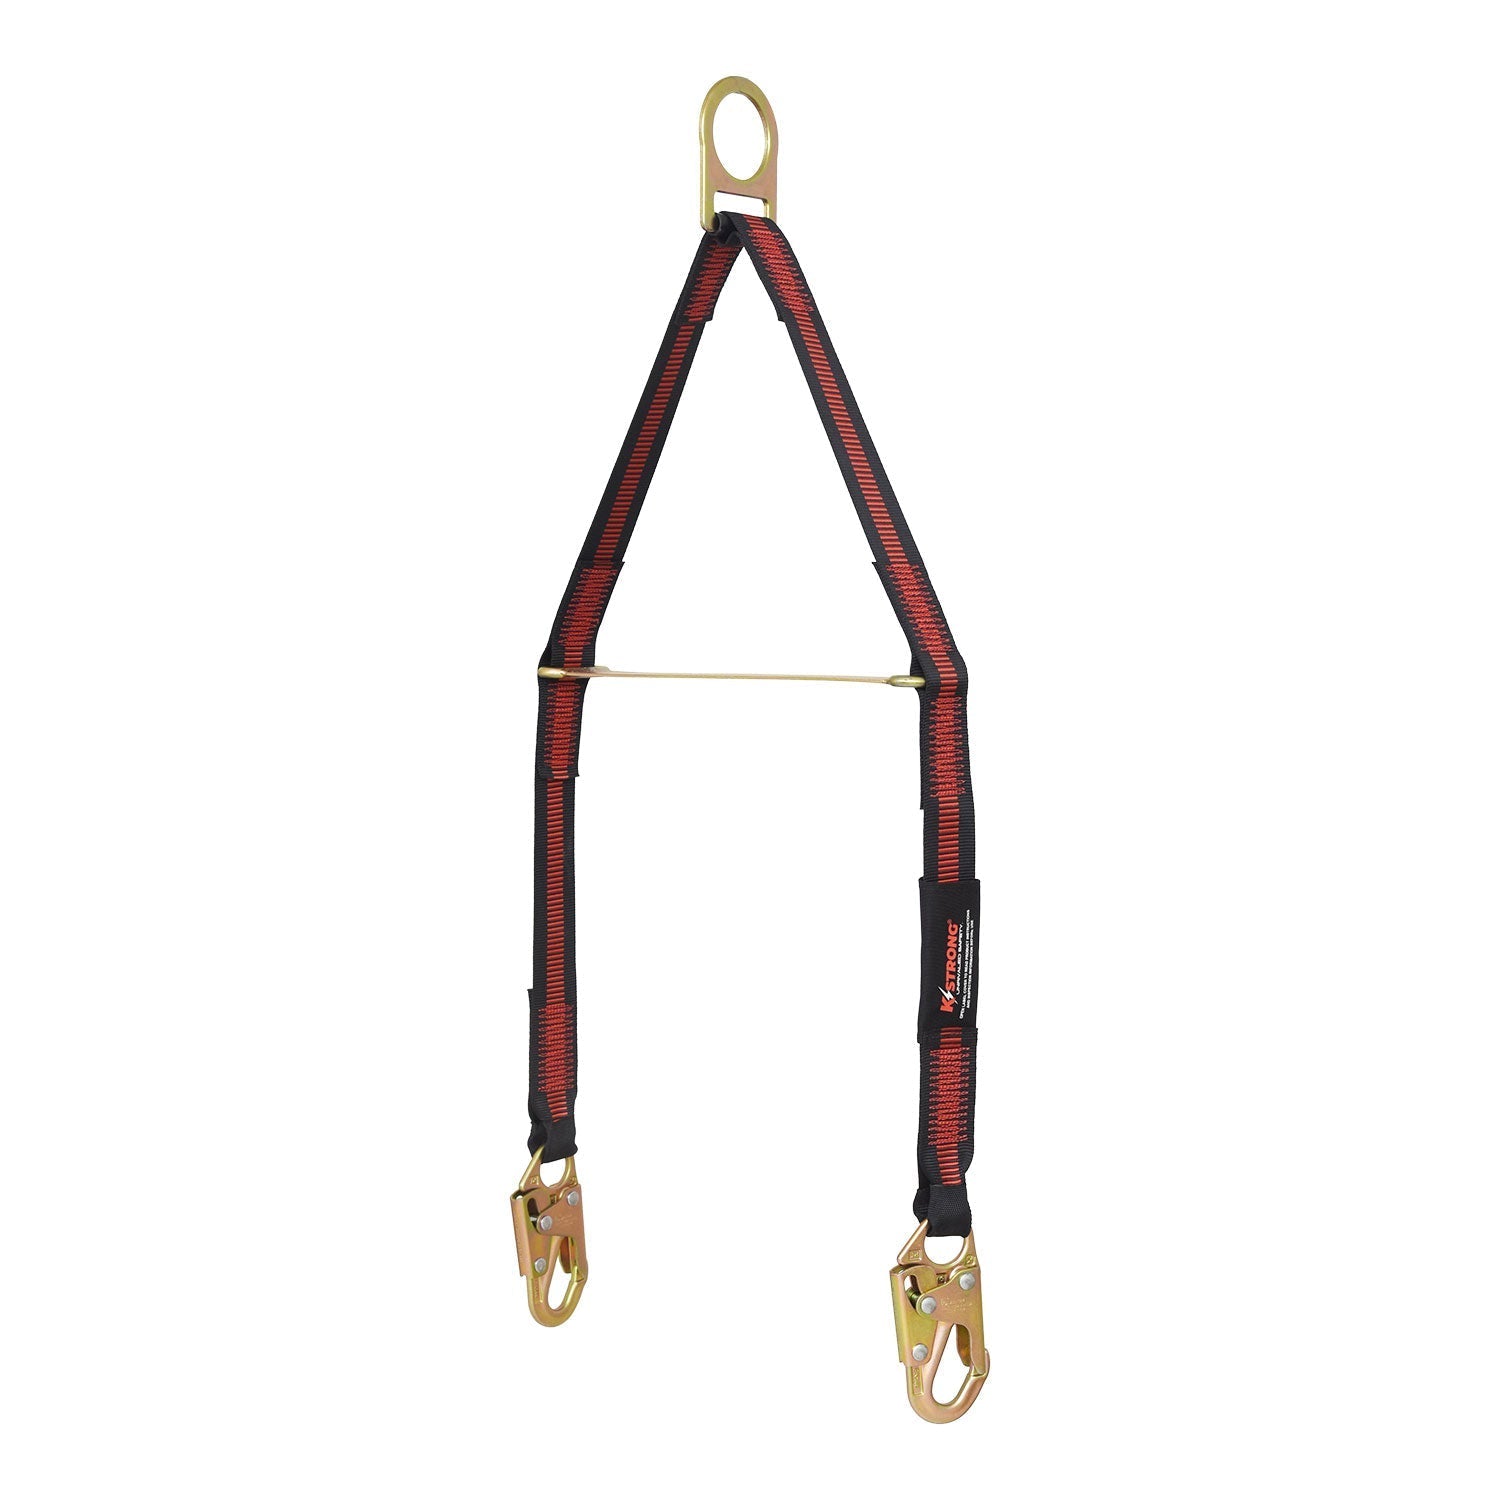
A spreader bar lift has two layers of slings. The top rigging runs from the crane hook down to the two ends of the bar, forming a triangle. The bottom slings run straight down from each end of the bar to the load's lift points. Because the bar holds the ends apart, those bottom slings hang vertically, applying only clean downward force to the load. The hook takes the whole weight through the top slings and the bar. Setting this up correctly, hook to bar ends via top slings, bar ends to load via vertical bottom slings, is the essence of using a spreader bar.
Why keep the slings vertical
The whole point is load protection and rigging safety. When slings attach directly to a wide load from a single hook, they angle inward, and that angle does two harmful things: it squeezes the load with horizontal compression, which can crush or damage it, and it dramatically increases the tension in each sling leg as the angle sharpens. A spreader bar removes both problems by keeping the bottom slings vertical. The load feels only straight-down lifting force, and the slings carry less tension. For long, wide, or delicate loads, that difference is the line between a safe lift and a damaged load or failed sling.
When to use a spreader bar
Reach for a spreader bar when a load is long, wide, or bulky enough that single-point slings would angle in sharply, or when the load is delicate and can't take compression. Steel plate, long fabrications, machinery, pipe, and turbine or equipment casings are classic cases. If you find yourself with sling angles far from vertical, or worried about crushing a load, a spreader bar is the answer. For narrow or compact loads that can hang cleanly from a hook, you don't need one. Matching the bar to genuinely wide or sensitive loads is part of good rigging judgment.
Spreader bar versus lifting beam
Spreader bars and lifting beams both spread a lift, but they carry load differently and suit different situations. A spreader bar is loaded in compression, with top slings from the hook to each end, so it's lighter for a given capacity but needs more overhead headroom for those top slings. A lifting beam connects to the hook at a single top center point and carries the load in bending, so it's heavier and stronger for the same capacity but needs less clearance above. Choose a spreader bar for wide loads and when you have headroom; choose a lifting beam when overhead space is tight.
Sizing and rating the bar
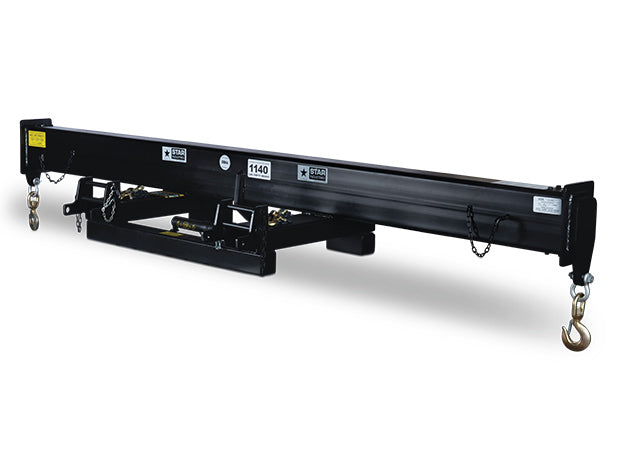
Like all rigging, a spreader bar has a working load limit that must never be exceeded, and it must be sized to the load's width and weight. The bar has to be long enough to place the lift points where the load needs them, and rated for the full load with margin. Adjustable models, like composite adjustable beams, let one bar serve different load widths. Confirm the bar's rating, the top and bottom slings' ratings, and the shackles that connect them all exceed the load. Under-sizing any element in the chain is dangerous, since the lift is only as strong as its weakest rated part.
Safety checks before the lift
Before lifting with a spreader bar, run through the basics. Confirm the bar and all slings and shackles are rated above the load and in good condition, inspected as rigging always must be. Check that the bottom slings hang vertical and are attached to sound lift points on the load. Make sure the load is balanced, so it lifts level, and that connections are secure. Verify you have the headroom for the top slings. And keep people clear of the load. A spreader bar makes a lift safer only when it's rigged and checked correctly. See our what is a spreader bar guide for the fundamentals.
Common mistakes to avoid
A few errors undo the benefit of a spreader bar. Using one that's too short forces the bottom slings back to an angle, defeating the purpose. Exceeding the working load limit of the bar, slings, or shackles risks failure. Skipping the inspection lets damaged gear into the lift. Rigging the load off-center makes it swing or tip. And confusing a spreader bar with a lifting beam when headroom is the constraint leads to the wrong tool. Avoiding these comes down to sizing the bar to the load, respecting every rating, inspecting the gear, and balancing the pick.
The bottom line
To use a spreader bar, run top slings from the hook to the bar's two ends and vertical bottom slings from those ends to the load, so the bar holds the lift points apart and keeps the load's slings straight down. That prevents the crushing compression and sling overload that angled slings cause on wide loads. Size and rate the bar and all connected gear above the load, inspect everything, and balance the pick. Browse our spreader bar collection, and read what is rigging equipment for the bigger picture.
Adjustable and multi-point setups
Beyond the basic two-point lift, spreader bars handle more complex loads. Adjustable bars, like composite adjustable lifting beams, let one bar serve a range of load widths, so you're not buying a separate bar for every job. For very long or oddly shaped loads, riggers use multiple bars or a bar with several pick points to distribute support along the load. These setups follow the same principles, keep the load slings vertical, rate every element above the load, balance the pick, but require more planning. For anything beyond a straightforward two-point lift, involve someone experienced in rigging design.